Taking Reference Photos and Measurements
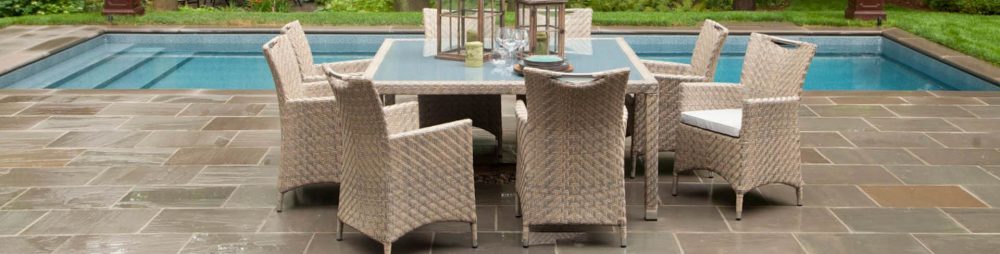
The first step for each product is taking good reference photos. We were lucky enough to have Magnolia send us each product, which was a huge help during the entire process.
There are two things to keep in mind when trying to shoot good reference photos:
1. Long focal length: it’s important to use a lens that has a long focal length. Otherwise, the photo will be skewed by a perspective that makes things closer to the camera appear to be much larger. This kind of photo is not ideal to model against. You can even view 3D models for more clarification.

2. Varying views: Usually front, back, left side, right side, and the bottom is sufficient to create an accurate model.
Then we take careful measurements of the height, length, the width of each part. Sometimes it requires drawing up an extensive diagram depending on how complex the object is.
Modeling
After we have our measurements and scene file set up, we start with a primitive shape (i.e. a sphere, cylinder, or cube) and add detail until we have an accurate representation of the product. It’s also important to remember that the mesh complexity has to stay relatively low, in order for the app to load it fast.
3. Painting the Textures
The high-density mesh will be used to generate smooth texture maps. Substance Painter will use these initial texture maps for the generation of various effects, like edge wear, scratches, and rust.